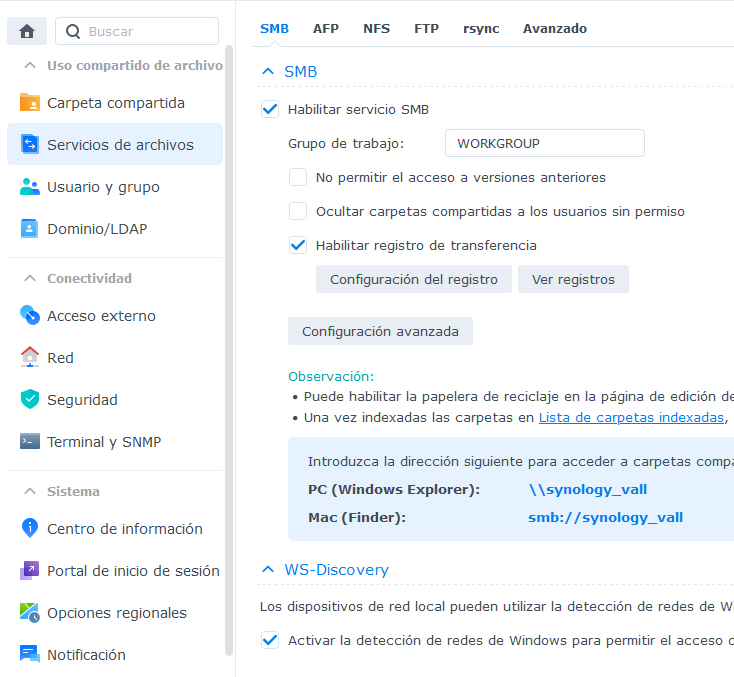
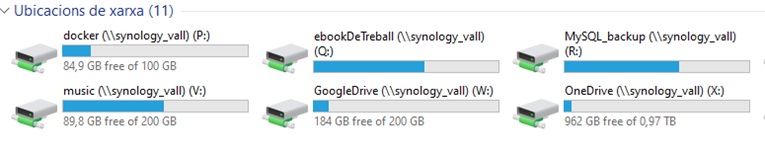
Per crear ubicacions de xarxa al Synology ha que habilitar el servei SMB. Per a mi és un servei basic del servidor.
 r
r
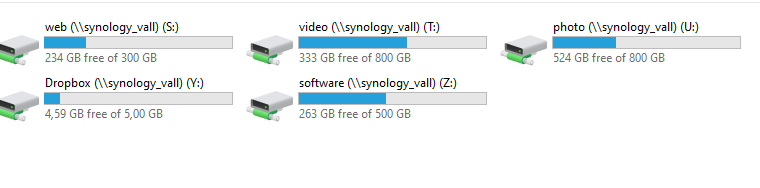

Per crear ubicacions de xarxa al Synology ha que habilitar el servei SMB. Per a mi és un servei basic del servidor.
r
1 CREAR UN CERTIFICAT NOU DE PAGAMEN
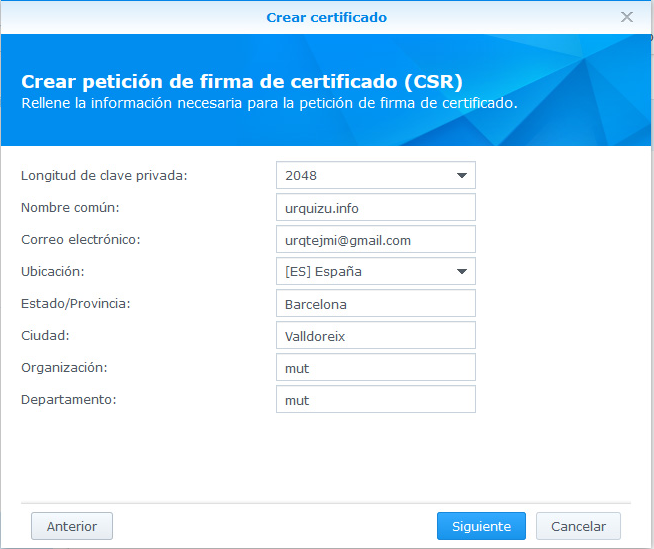
finalització de la petició (feta des del servidor on volem instal·lar el certificat) genera dos fitxers: server.csr i server.key que es poden descarregar premen “descarregar”.
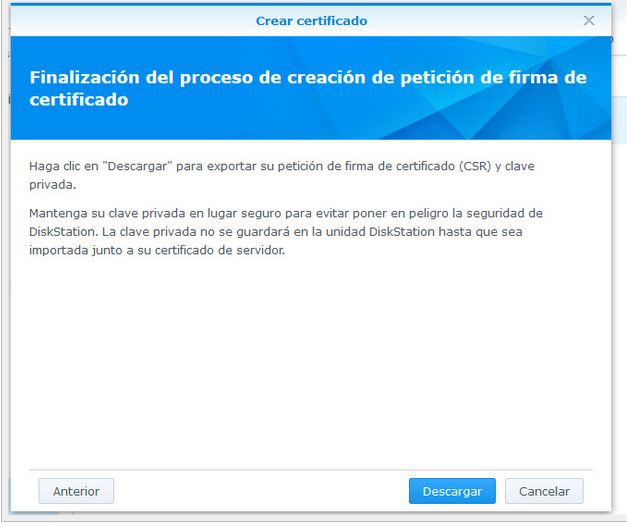
Convé guardar servey.key de forma segura perquè la necessitarem per a futures renovacions del SSL.
.Aquestes “autoritat competents”, normalment treballen amb empreses revenedores ‘resellers’ (per example Moniker) i no directament amb els usuaris.
La meva autoritat competent es:
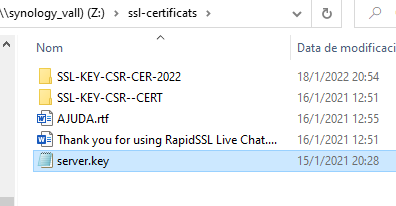
En resum ens hem d’assegurar que el fitxer server.key, s’ha generat al nostre servidor.
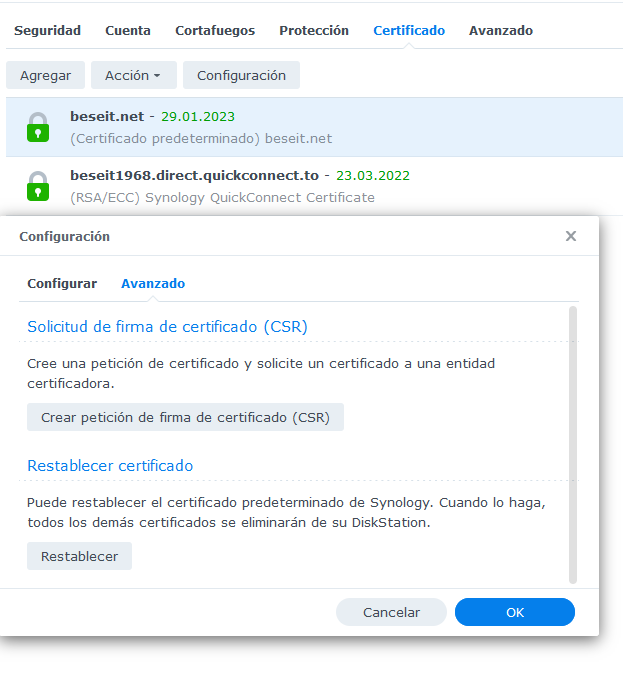
Ja està instal·lat el certificat:
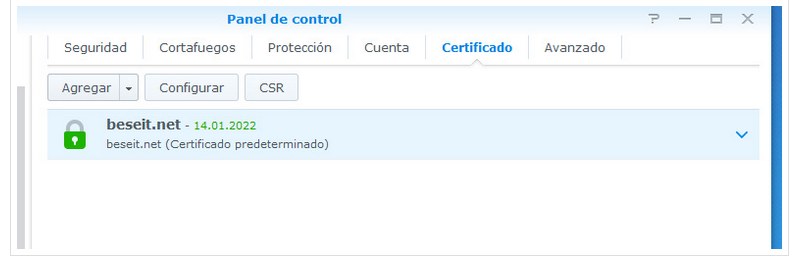
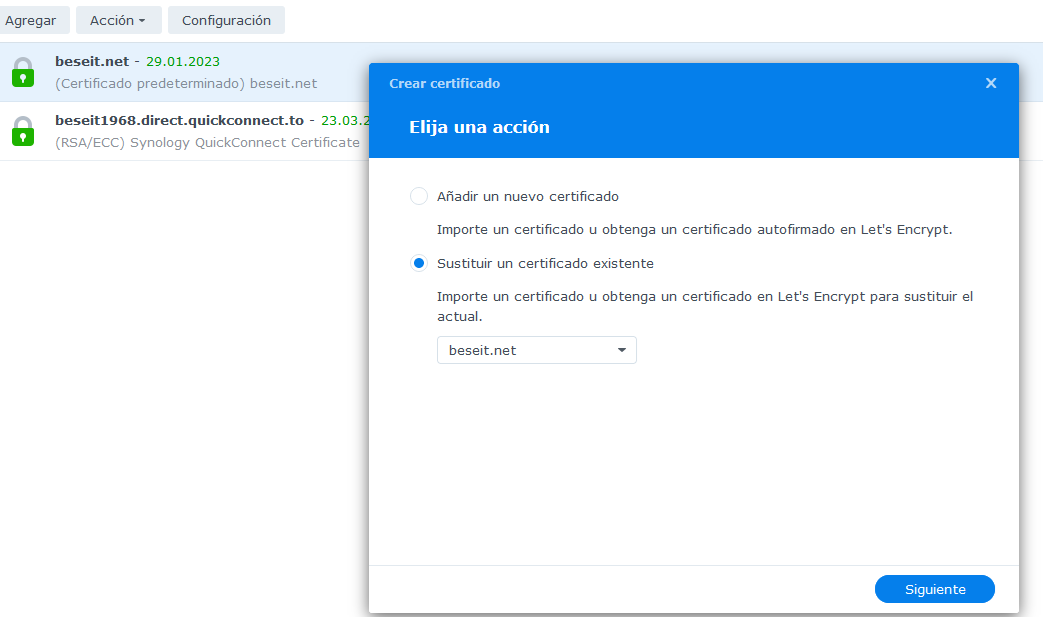
Si el volem canviar:
Agregar/substituir/importar

instal·lat al meu Synology i funciona perfectament: https://www.beseit.net
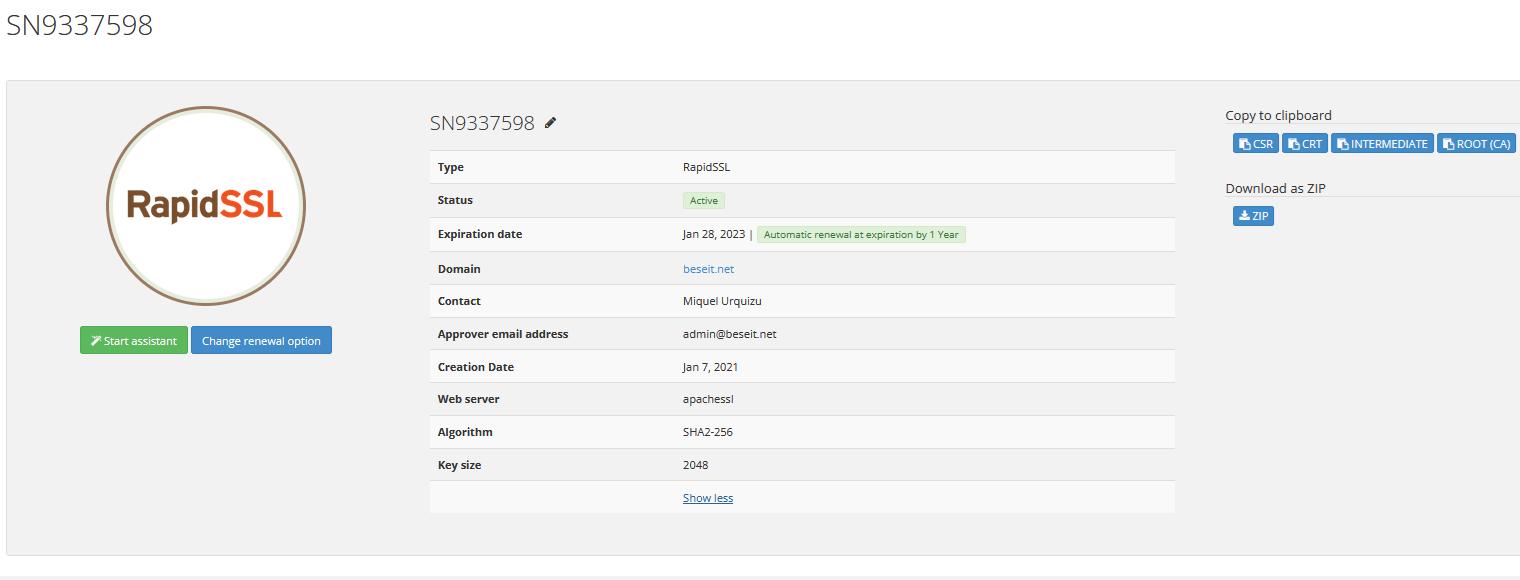
2 Renovació de SSL
El certificat es renova automàticament cada any(si hi ha fons)
Però:
Dear Customer,
thank you for your order.
The following SSL certificate has been renewed successfully:
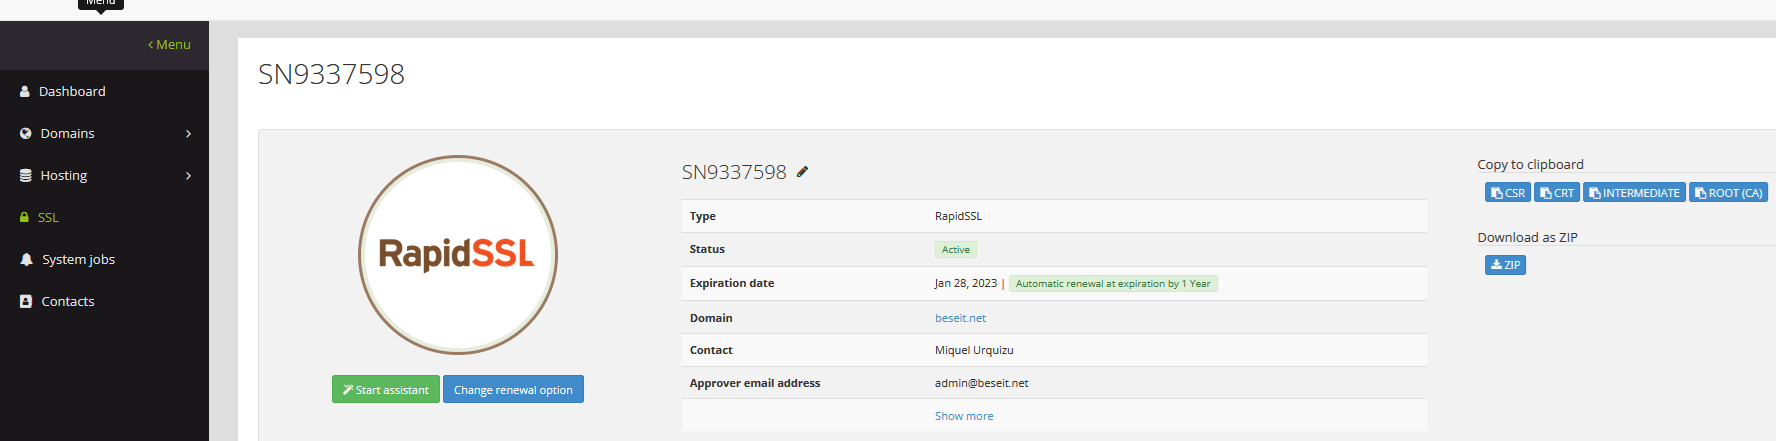
Certificate ID:
SN9337598
Certificate Sub:
SN9337598-004
Certified domain(s):
beseit.net
The respective certificate is available in your customer account.
Please note: The renewed certificate needs to be installed at your webhosting provider. It will not be renewed there automatically.
Un cop està renovat al meu proveïdor de domis i SSL veiem:
Substituir un certificat existent

Clave privada la tenim guardada:

Les altres les descarreguem de Moniker download ZIP
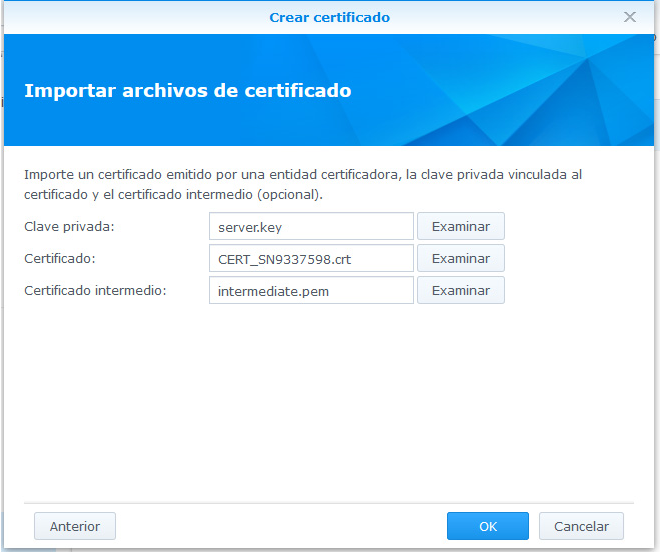
Ha de quedar així
end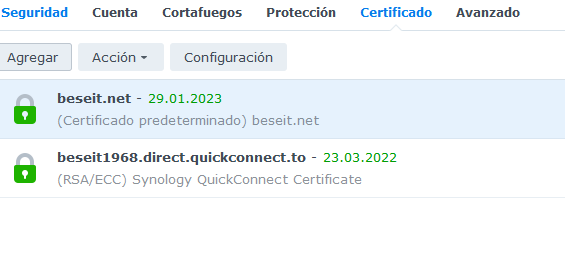
3 instal·lació d’un certificat gratuït al Synology
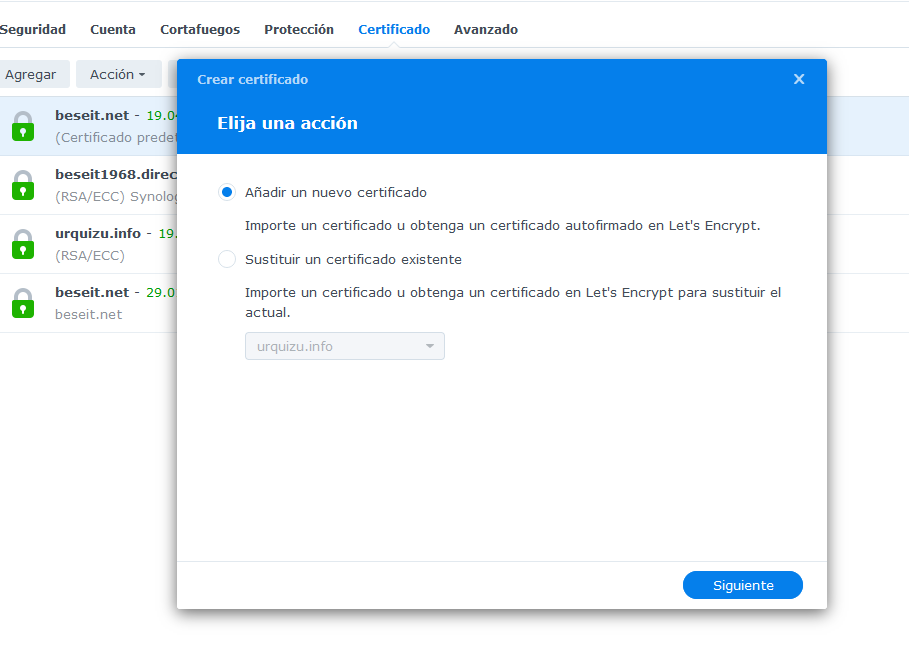
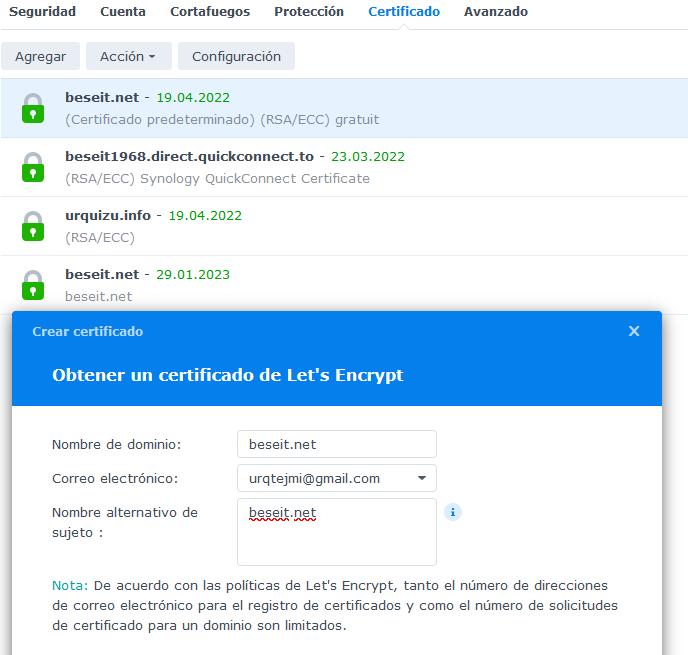
És el que ara està funcionant encara que veig que és només per tres mesos. Ja aniré contant com va
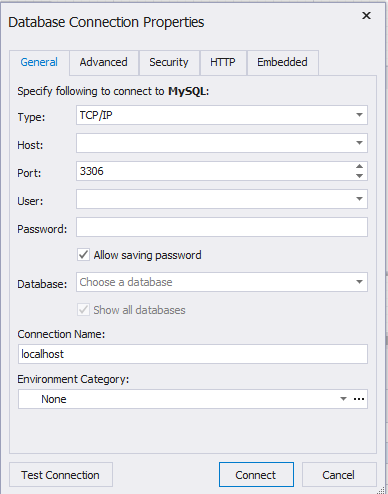
New connection podria ser neccesari crear un new user per al MariaDB 10

La versió DSM ha fet alguns canvis significatius en la forma d’us del SYNOLOGY.
D’entrada ha desaparegut MariaDB 5.0.
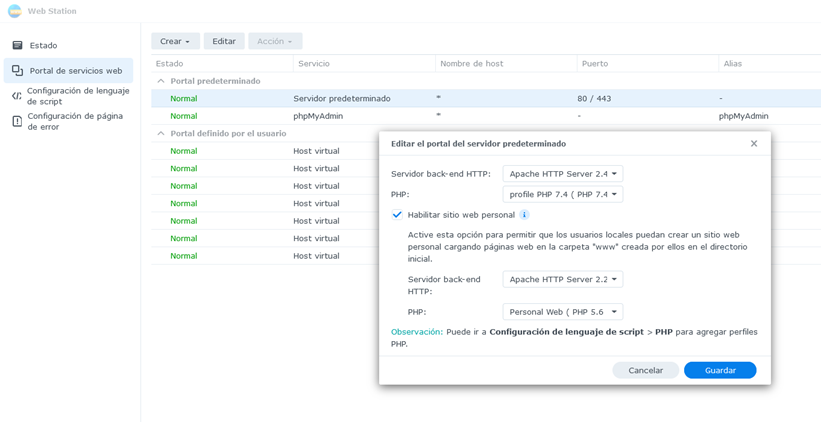
PHP no és visible al panel de control.
Habilitar/des habilitar el servei web també ha variat
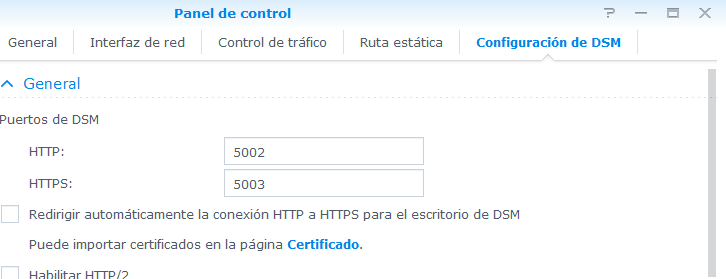
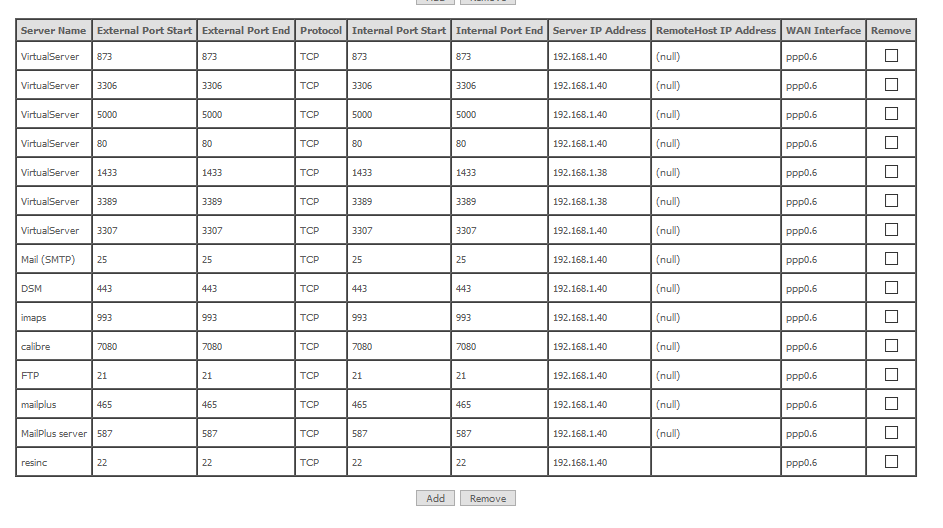
Obrir port del router:

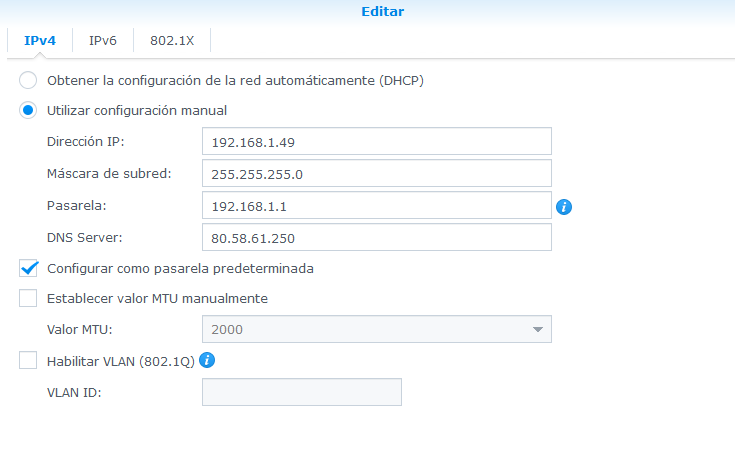
El port 5002 assignarà la ip interna 192.168.1.49 que hem d’haver assignat al synology DS220+
IP INTERNA
El disc “backup volum 1” està introduït a la bahia 1 (ve del DS918+ que automàticament ha fet una migració). EL SISTEMA ARRANCA amb aquestes carpetes:

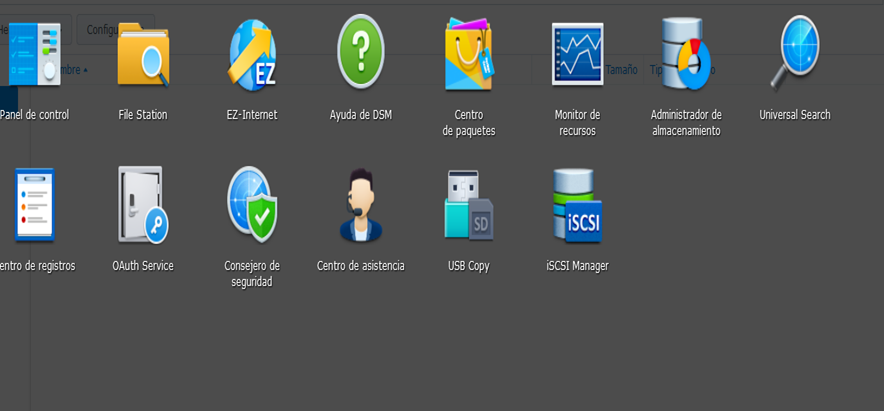
Aquestes són les aplicacions que ha carregat per defecte:
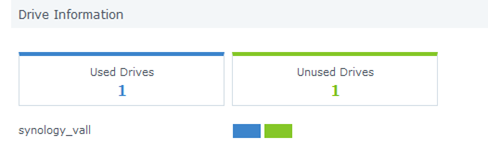
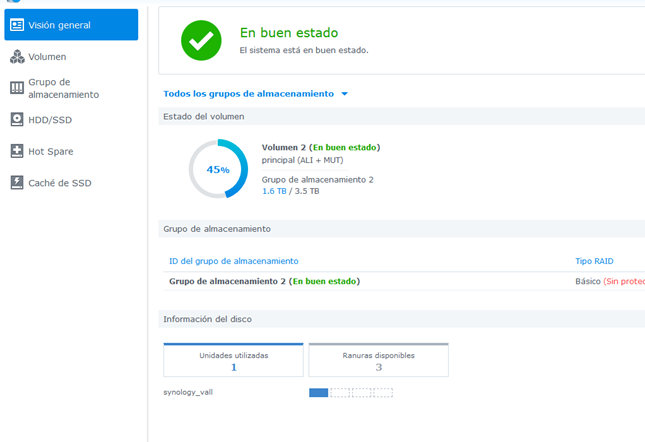
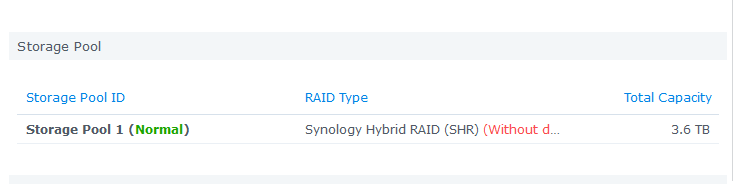
Poso un disc nou a la bahia2 i aquesta és la informació del administrador de emmagatzematge. Es pot observar que s’identifica amb ‘unused driver’. Amb aquest disc es pot crear un volum 2 o sumar-lo al volum 1 que passaria a 3,5+3,5 TB.

2. Tipus de Reset
Mode 1: Reset administrator login credentials and network settings4
Mode 2: Reset Synology NAS and re-install the operating system DSM
This mode wipes out all system configurations and carries out all the reset functions included in Mode 1.
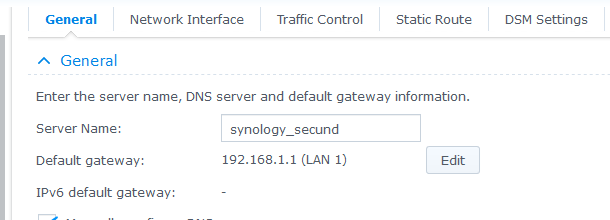
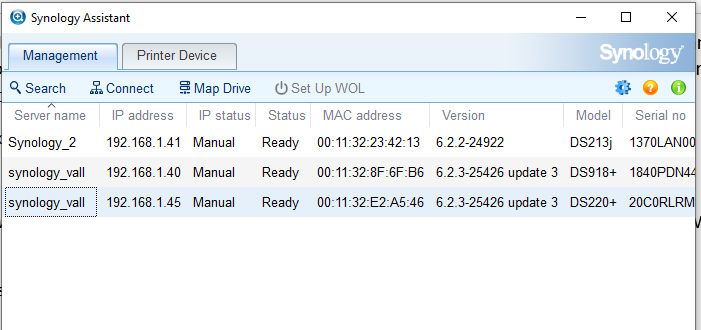
3. Canviar nom i pasword del servidor amb Synology Assistand
S’entra a control panel/netword/general es posa el nou nom i es llança Synology assistan.
Arquitectura de servidors NAS (de l’anglès Network Attached Storage) és el nom donat a una tecnologia d’emmagatzematge dedicada a compartir la capacitat d’emmagatzematge d’un computador (Servidor) amb ordinadors personals servidors clients a través d’una xarxa (normalment TCP/IP), fent ús d’un sistema operatiu optimitzat per donar accés amb els protocols CIFS, NFS, FTP o TFTP.
Centre de descarregues Synology: Centre de descarregues oficial de Synology
Software a descarregar:
 DSM (sistema operatiu: la última versió del DSM disponible és 6.2.4)
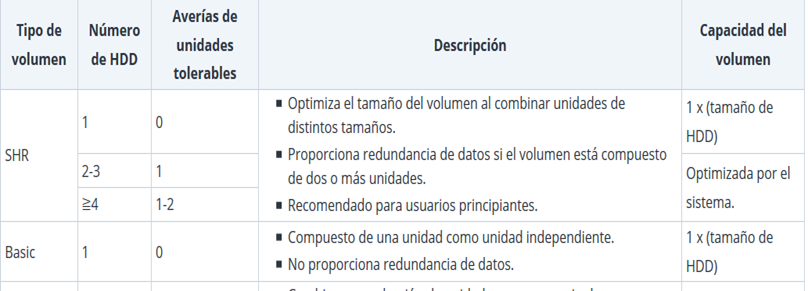
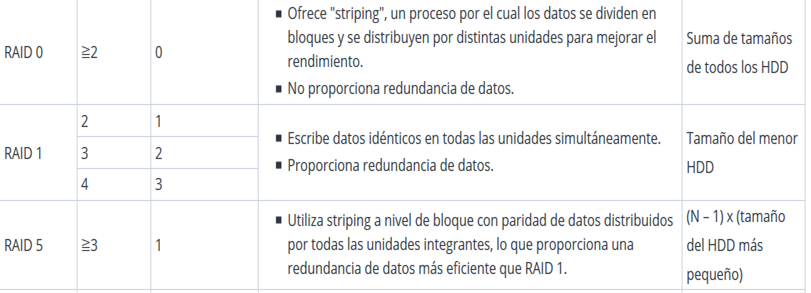
Tipus de configuracions del modo de emmagatzematge de la informació al disc que suporta el DSM:
 En una configuració RAID 1 (2 discs) si per accident traiem un disc, es dispara l’alarma (llum groga). En cap cas s’ha de apagar sinó tornar a possar el disc, anar a “storage manager” i reparar.
 EL PROCÉS POR DURAR HORES!
La configuració de les dades del disc modus SHR (Synology Hybrid RAID) es la genuïna i propietària de Synology, mentre RAID (Redundant Array of Independent Disks) és una configuració estàndard que es pot muntar en qualsevol equip.
Mentre que la configuració SHR
Observacions : No apagueu el NAS quan el volum estigui degradat ni durant el procés de reconstrucció. En cap cas segueixi treballant amb la informació o afegeixi nous arxius al seu volum per no retardar el temps de reconstrucció.